The first step that involves actually running a BRAT tool is the BRAT Project Builder. This tool is meant to take all the inputs that the user wants to use and copies them into a folder structure for future use, as well as creating an XML file that will be updated in future tools.

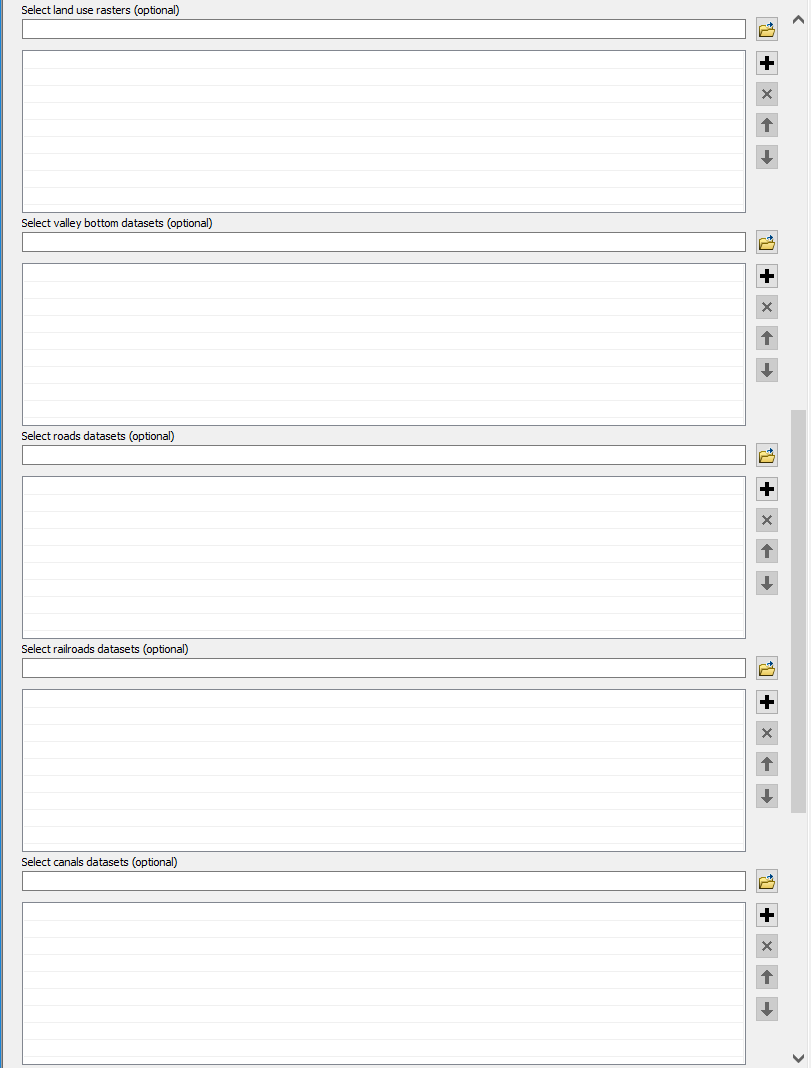
Figure 1: BRAT Project Builder Interface.
Required Inputs:
- Select Project Folder - The path to a folder. This will be where the folder structure will be created.
- Input Segmented Network - Add all stream networks that you want to use in BRAT.
- Input DEM - Add all DEMs that you want to use in BRAT.
- Input Coded Existing Vegetation Raster - Add all landfire EVT layers that you want to use, making sure that the “VEG_CODE” field has been added and populated.
- Input Coded Historic Vegetation Raster - Add all landfire BPS layers that you want to use, making sure that the “VEG_CODE” field has been added and populated.
Optional Inputs:
- Project Name - If you want the XML to have a project name, enter it here.
- Watershed HUC ID - If you want your XML to include information on what HUC you’re running BRAT on, enter it here.
- Watershed Name - If you want the name of your watershed to be recorded, enter it here.
- Beaver Dam Survey Data - If you want to compare BRAT results to beaver dam survey data, add those files here.
- Perennial Streams - If you want use perennial streams, add them here.
- Input Land Ownership Polygons (optional) - If you want to know land ownership along your network and distance to private land, add all land ownership shapefiles here.
The following inputs are optional but required to run the Constraints and Opportunities Model
- Input Valley Bottom Polygon - Add all valley bottom polygons that you want to use in your BRAT runs.
- Input Road Layer Feature Class - Add all road shapefiles that you want to use in your BRAT runs.
- Input Land Use Raster - Add all land use rasters that you want to use in your BRAT runs, making sure that the “LU_CODE” and “LUI_CLASS” fields have been added and populated.
- Input Railroad Feature Class (optional) - Add all railroad shapefiles that you want to use in your BRAT runs. Note: some watersheds may not have railroads present.
- Input Canal Feature Class (optional) - Add all canal shapefiles that you want to use in your BRAT runs. Note: some watersheds may not have canals present.
 Back to BRAT Home